Product Categories:


Wait, don't go!
Before you leave, we have a special offer just for you!
Get 20% off your next purchase.

Product Categories:
This guide walks you through 7 steps & 4 criteria to size an air compressor, explains what each metric really means, and helps you avoid the classic mistakes that plague so many facilities.
Few decisions in a compressed air system are as important — or as frequently mishandled — as sizing the air compressor. Install a unit that is too small and your tools will stall, pressure will sag, and production will grind to a halt. Install one that is too large and you will waste energy, overspend on maintenance, and shorten the life of the machine for no reason.
The good news is that correct sizing is not guesswork. It is a repeatable process built on four core criteria — airflow, pressure, application, and power — and a clear seven-step workflow. This guide walks you through 7 steps & 4 criteria to size an air compressor, explains what each metric really means, and helps you avoid the classic mistakes that plague so many facilities.
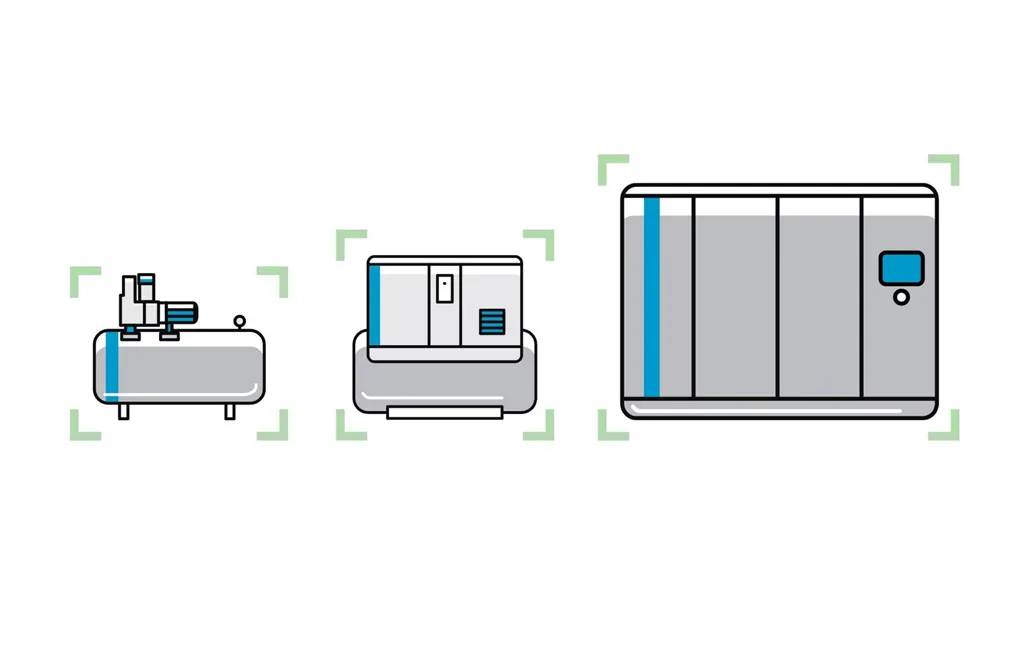
Today’s air compressors are more efficient and employ better technology than their predecessors. But that efficiency only pays off if the machine is matched to your actual needs. Choosing the wrong air compressor can lead to:
Understanding your application and usage details is therefore the foundation of everything else. Size it right, and the rest of your system runs smoothly; size it wrong, and the costs compound every day.
Every sizing decision ultimately comes down to four selection criteria. They are the dimensions you evaluate before you buy, and each answers a different question about your operation.
Airflow is the volume of air the compressor can deliver, measured in cubic feet per minute (CFM) . This is the most critical factor, as it indicates how much air the compressor can actually produce. Every tool has an air tool CFM requirement, so you must understand the specific flow your applications demand before you choose a machine.
Pressure, measured in pounds per square inch (PSI) , is the force the compressed air exerts. Different tools and machinery have distinct PSI needs. If your air compressor cannot deliver the pressure a task requires, the task simply will not be accomplished.
The specific application determines your air quality requirements and any special needs. Consider pressure losses caused by air dryers, air filters, and drains in your system. Evaluate whether you need a high-pressure air compressor, a unit suited for spray painting, or a configuration matched to another specialized task.
Power — measured in horsepower (HP) or kilowatts (kW) — is important but is not the primary selection criterion. Focus on airflow and pressure first, then match the air compressor’s power rating to your needs. A common mistake is choosing by horsepower alone; in reality, two machines with the same HP can deliver very different airflow depending on design and efficiency.
Once you understand the four criteria, the sizing process itself follows a logical sequence of seven steps.
Make a complete list of every tool and piece of equipment that will use the air compressor. For each one, check two numbers on its data plate or specification sheet:
Do not rely on memory. Tools are the ground truth of your sizing calculation, and skipping even one high-draw tool can leave you undersized. Note the highest-demand tool on your list, because it will help define your minimum requirements.
Not every tool runs continuously, and that distinction matters enormously for sizing.
Assess how often and how long each tool will be used. The frequency and number of simultaneous tasks directly determine the flow (CFM) you need.
An air compressor is a long-term investment, and the cheapest time to add capacity is when you buy it. Think ahead:
It is wise to choose an air compressor that can handle more than your current needs. A modest buffer now is far cheaper than a full re-purchase later.
Airflow, also known as free air delivery (FAD) , is measured in cubic feet per minute (cfm), liters per second (l/s), or cubic meters per hour (m³/h), depending on your location. The required flow depends on the duration of the task.
Insufficient flow means frequent breaks while the compressor rebuilds pressure — the clearest sign of an undersized unit. Also remember that rotary screw compressors generally provide more flow per kW or HP than piston compressors, so technology choice affects the size you need. To determine total flow, you can consult manufacturers’ data sheets, but the most accurate method is a compressed air audit performed by a professional.
Pressure is measured in pounds per square inch (psi) or bar (the metric measure). In simple terms, pressure is the amount of force needed to perform a certain amount of work at any given moment.
A useful analogy: imagine moving a wooden block across a table. If 100 psi is not enough force to move the block, the task simply will not be accomplished. Only when the compressor delivers the required pressure — say, 115 psi — does the block move the desired distance.
The lesson is straightforward: the compressor must provide enough pressure to perform the task, or the task fails. Size your compressor so it can deliver the highest pressure required by your most demanding tool, accounting for any pressure lost through dryers, filters, and drains.
Once you have established your flow and pressure requirements, you can match the compressor’s horsepower (HP) or kilowatts (kW) accordingly. Power is what drives the compression element, but it should never be your starting point.
Because two compressors with the same HP can deliver very different CFM, energy efficiency becomes a deciding factor. Choose machines with validated efficiency ratings so you can compare them fairly and save on operating costs over the life of the unit.
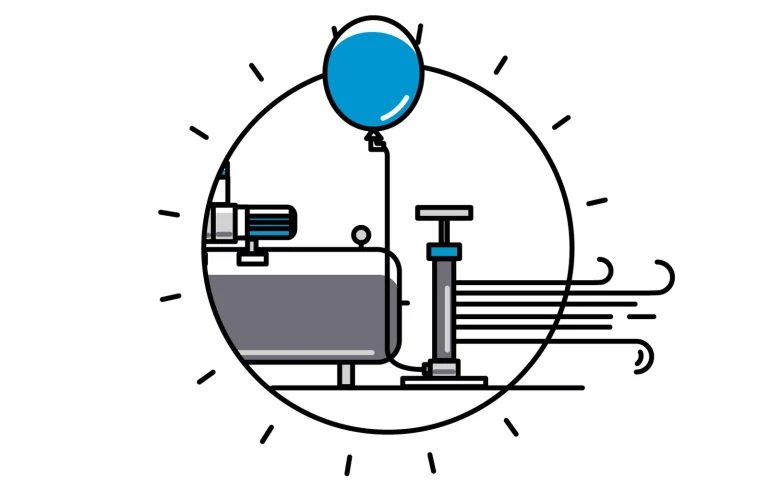
A subtle but essential distinction in sizing is between capacity and flow rate:
Both metrics matter. A larger tank helps with intermittent, high-draw applications by smoothing out the duty cycle. A higher flow rate is essential for continuous or simultaneous use. Understanding the difference prevents you from buying a big tank thinking it fixes a flow problem it cannot solve.
Different tools and applications require different levels of airflow and pressure. The charts below give typical ranges to help you benchmark your needs:
| Application | CFM | PSI |
|---|---|---|
| Home Use | 1–2 | 70–90 |
| Spray Gun / Spray Painting | 4–8 | 30–50 |
| Sandblasting | 6–25 | 70–90 |
| Various Power Tools | 3–10 | 90–120 |
| HVAC Systems | 6–12 | 80–100 |
| Refrigeration | 3–5 | 60–80 |
| Automotive Assembly | 8–15 | 90–120 |
| Food & Beverage Packaging | 4–10 | 70–90 |
| Air Tool | CFM | PSI |
|---|---|---|
| Airbrush | 0.5–1.5 | 20–30 |
| Nail Gun | 1–2 | 70–90 |
| Dental Equipment | 2–4 | 80–100 |
| Tire Inflator | 2–3 | 100–150 |
| Impact Wrench | 3–5 | 90–100 |
| Air Ratchet | 3–5 | 90–100 |
| Hammer Drill | 3–6 | 90–120 |
| Paint Sprayer | 6–7 | 30–50 |
| Grinder | 5–8 | 90–120 |
Use these figures as a starting point, then verify against the actual specifications of the tools you own. Always match the compressor to your most demanding tool to avoid undersizing.
Beyond the four criteria, a few qualitative factors can determine whether a compressor fits your facility:
Understanding the consequences of getting it wrong helps you avoid both extremes:
The right size sits between these two failure modes: enough flow and pressure for your most demanding application, with a sensible buffer for growth — but not so much that you pay for capacity you never use.
How much CFM do I need for an air compressor?
The CFM required depends on the tools or applications you will use. Reference the charts above for typical requirements, and size for your most demanding tool.
What size air compressor do I need for home use?
Home use typically requires lower CFM and PSI. Common applications include inflating tires, operating small tools, and spray painting. Match the compressor to your most demanding tool.
What size air compressor do I need for spray painting?
Spray painting needs steady airflow at relatively low pressure. Generally, a compressor delivering 4–8 CFM at 30–50 PSI is suitable.
Correctly sizing an air compressor comes down to four inputs — the flow (CFM) your tasks demand, the pressure (PSI) they require, the application and its quality needs, and the power (HP/kW) to drive it — applied through a disciplined seven-step process.
Match those to a machine with validated energy efficiency, and you will avoid the wasted energy of an oversized unit and the production failures of an undersized one. For new or existing applications where precision matters, the most accurate path is a compressed air audit performed by a professional, who will measure your actual usage, account for leaks and pressure drops, and recommend the right size.